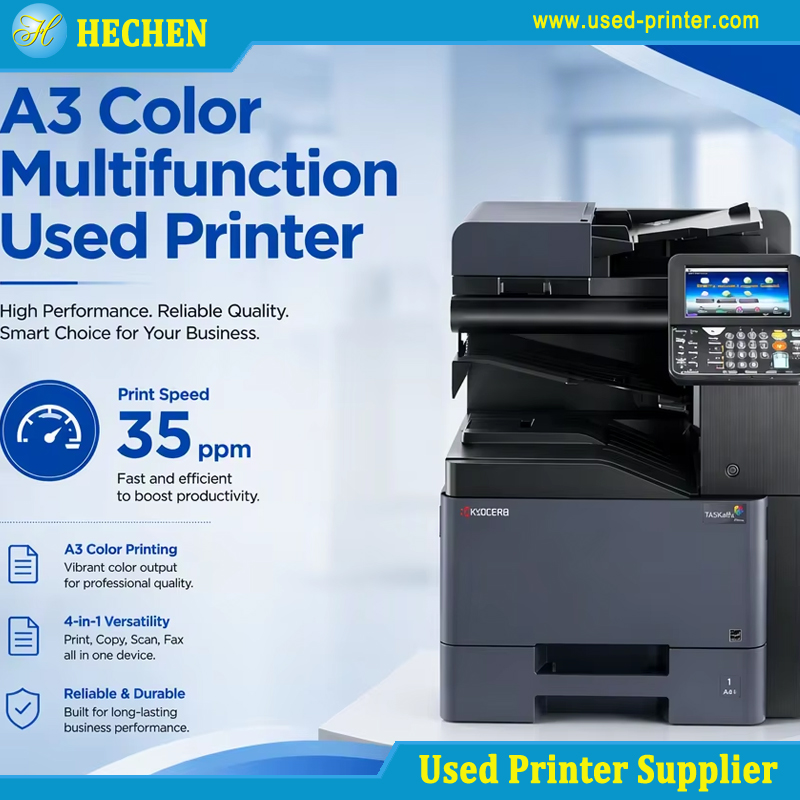
Buying a second hand laser printer can be a cost-effective solution for businesses, offices, schools, print shops, and individuals who need reliable printing performance without paying the high price of new equipment. However, the actual condition of a used printer cannot be determined by its appearance alone. A machine may look clean and operate normally while producing faded text, uneven density, toner stains, background shading, or repeated image defects.
Print quality testing is therefore one of the most important steps before purchasing a second hand laser printer. A proper inspection helps buyers identify worn consumables, damaged components, maintenance issues, and potential mechanical problems. It also provides a clearer understanding of whether the printer can meet daily printing requirements.
This guide explains how to test print quality on a second hand laser printer, which test pages to print, what defects to look for, how to identify their possible causes, and how to evaluate the overall condition of a used machine.
1. Prepare the Printer Before Testing
Before printing test documents, check the printer's basic operating condition. A printer that has not been properly installed or configured may produce misleading test results.
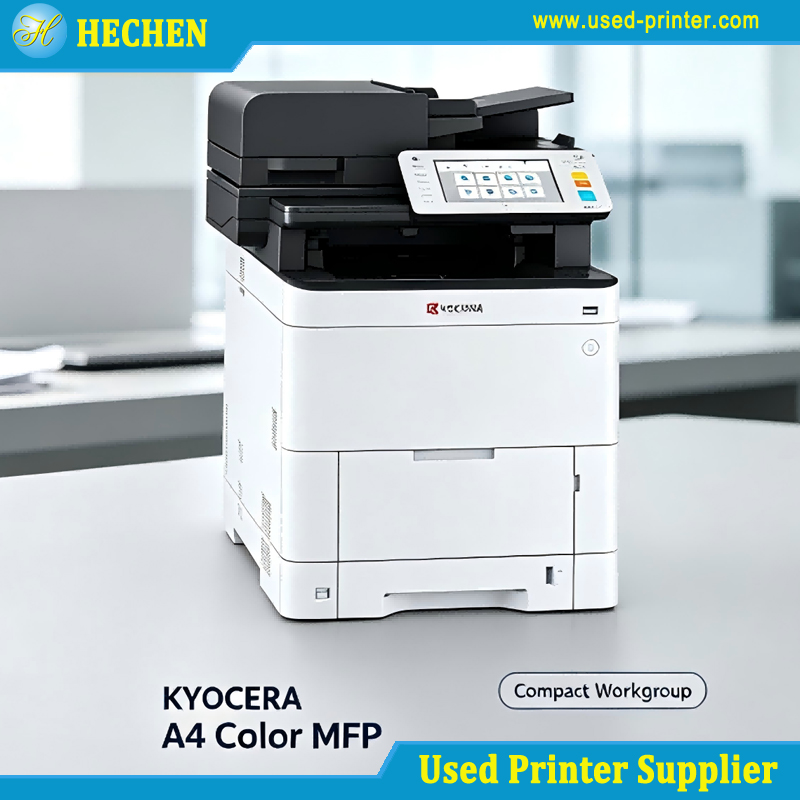
Start by inspecting the exterior and internal areas that are accessible to the buyer. Look for cracks, damaged covers, loose components, toner leakage, excessive dust, and signs of poor maintenance. Open the front and side covers according to the manufacturer's instructions and check whether the toner cartridge, drum unit, and paper path are correctly installed.
Next, confirm that the printer is using compatible consumables. Different toner cartridges, imaging units, and drum assemblies may affect print quality. If the machine uses separate toner and drum units, inspect both components where possible.
Check the following items before testing:
Toner cartridge installation and remaining toner level
Drum unit condition and estimated remaining life
Fuser unit status and maintenance warnings
Paper tray condition and paper size settings
Printer error messages and maintenance alerts
Internal contamination, loose toner, or paper debris
Firmware, driver, and connection status
Use suitable, clean, dry paper that meets the printer's specifications. Poor-quality or damp paper can cause wrinkles, toner adhesion problems, and inconsistent feeding.
Allow the printer to complete its warm-up process before printing. If it has been stored for a long time, print several preliminary pages to confirm that the machine operates consistently.
2. Print the Printer's Internal Configuration and Test Pages
The first practical step is to print an internal configuration page or status page. Most business-class laser printers and multifunction copiers provide this function through the control panel or printer menu.
An internal configuration page is useful because it can reveal important information without relying on a computer or external printer driver.
Depending on the model, the page may display:
Total page count or machine meter reading
Toner and drum status
Fuser or maintenance kit information
Installed memory and optional accessories
Paper tray configuration
Firmware version
Network and device information
The configuration page also helps confirm whether the printer can process and print documents independently of the connected computer.
After printing the configuration page, examine the text, numbers, lines, and graphic elements. Text should be sharp and readable, while solid areas should have reasonably uniform density.
Do not rely on a single internal page to judge the entire machine. Different print patterns reveal different defects, so additional tests are necessary.
3. Test Text Sharpness and Character Clarity
Text quality is particularly important for offices, schools, administrative departments, and businesses that regularly print invoices, contracts, reports, and other documents.
Prepare a test document containing different font sizes, bold text, thin characters, numbers, and punctuation marks. Include font sizes such as 6 pt, 8 pt, 10 pt, 12 pt, and 16 pt.
Print the document using the printer's normal or standard quality setting.
Examine the following characteristics:
Character edges: Letters should have clean, defined edges without excessive blurring or rough outlines.
Small text readability: Small characters should remain recognizable. Missing sections or filled-in spaces between letters may indicate imaging or resolution problems.
Bold text consistency: Bold characters should appear solid and reasonably uniform rather than patchy or faded.
Line quality: Thin horizontal and vertical lines should be continuous and clearly visible.
Spacing and alignment: Characters should not show unusual distortion, repeated shadows, or irregular positioning.
If text appears too light, check toner levels and print-density settings first. If characters have repeated outlines or shadows, the drum, developer system, transfer components, or other imaging parts may require further inspection.
For business printing applications, sharp text is essential. A used laser printer that produces unclear characters may not be suitable for professional documents even if it can still print.
4. Check Solid Black Areas and Gray Density
Solid-area testing is one of the most effective methods for identifying print-quality problems in a second hand laser printer.
Create a test page containing several large black rectangles, gray blocks, and different shades of gray. Print the page using standard settings and examine the output under good lighting.
A healthy laser printing system should produce reasonably consistent solid areas without obvious gaps, streaks, or irregular density.
Look for these common defects:
Faded areas: Parts of the black rectangle appear lighter than others.
White spots: Small unprinted areas appear inside solid black regions.
Black spots: Unwanted toner marks appear on otherwise clean areas.
Uneven density: One side of the page is darker than the other.
Gray background: White areas have an unwanted gray or black haze.
Horizontal bands: Repeated light or dark lines appear across the page.
Faded printing can be associated with low toner, poor toner distribution, worn developer components, incorrect density settings, or a deteriorated drum unit.
White spots may result from contamination, damaged drum surfaces, or problems with toner transfer. Gray backgrounds can be related to drum wear, developer issues, unsuitable toner, or incorrect high-voltage settings.
However, a single defect does not always identify one specific failed component. Buyers should compare several test pages and ask a qualified technician to diagnose persistent problems.
5. Test for Vertical and Horizontal Streaks
Streaking is a common print-quality problem in used laser printers. It may be caused by worn imaging components, toner contamination, damaged rollers, or problems in the paper transport system.
Print a page containing full-width horizontal lines, vertical lines, and solid black areas. Inspect the page from top to bottom and from left to right.
Pay particular attention to:
Vertical streaks: Continuous lines running in the direction of paper movement. These may be associated with the drum, developer roller, charging components, or contamination inside the imaging system.
Horizontal bands: Repeated marks across the page at regular intervals. These can indicate rotating components with surface defects, such as a drum or roller.
Irregular toner marks: Random stains or scattered spots may indicate loose toner, contamination, or damaged internal components.
Repeated image defects: If a similar mark appears several times down the page at regular intervals, a rotating component may be responsible.
To investigate repeated defects, measure the distance between identical marks. Compare the measurement with the service documentation for the printer model, if available. Different rotating components have different circumferences, so the repetition distance can help technicians narrow down the source.
Do not immediately assume that a streak requires a complete drum replacement. Cleaning, cartridge replacement, or inspection of other imaging components may resolve some problems.
6. Check for Ghosting and Double Images
Ghosting occurs when a faint copy of a previously printed image appears again on the same page. It can make documents look unprofessional and may indicate that the printer's imaging or toner-fixing process is not operating correctly.
To test for ghosting, print a page containing a large black rectangle, several lines of text, and repeated graphic patterns. Examine the area below and around the original printed elements.
There are two common types of ghosting:
Drum-related ghosting: A faint repeated image may appear because residual electrostatic charge or toner remains associated with the imaging process.
Fuser-related ghosting: Toner may not be fixed correctly, or contamination on the fuser components may cause repeated marks.
The fuser unit uses heat and pressure to bond toner to the paper. If its surface is worn, contaminated, or operating incorrectly, it can cause smearing, repeated marks, or poor toner adhesion.
Ghosting should be investigated carefully because the drum unit, toner cartridge, developer system, and fuser can produce similar symptoms.
For a second hand laser printer, persistent ghosting is a warning sign that further maintenance or replacement parts may be required.
7. Test Toner Adhesion and Fuser Performance
A laser printer must properly fuse toner onto the paper. Even if the printed image looks clear immediately after printing, poor toner adhesion can cause the image to rub off during handling.
After printing a test page, allow it to cool briefly. Gently rub a printed black area with a clean finger or soft, dry cloth. Do not use excessive force or attempt to damage the paper.
Observe whether toner flakes, smears, or transfers easily.
Normal laser printing should produce a stable image that remains attached to the paper during ordinary handling.
Common signs of fuser-related problems include:
Toner rubbing off the paper
Smudged or blurred printed areas
Wrinkled or curled paper
Repeated toner marks
Unusual fuser noises
Fuser-related error messages
Poor toner adhesion may also result from incompatible paper, incorrect media settings, or unsuitable toner. Therefore, repeat the test using paper recommended by the manufacturer and verify that the paper type setting matches the actual media.
A technician should inspect the fuser assembly if the problem continues. Fuser units operate at high temperatures, so buyers should not open or touch hot internal components.
8. Check Color Registration and Color Consistency on Color Laser Printers
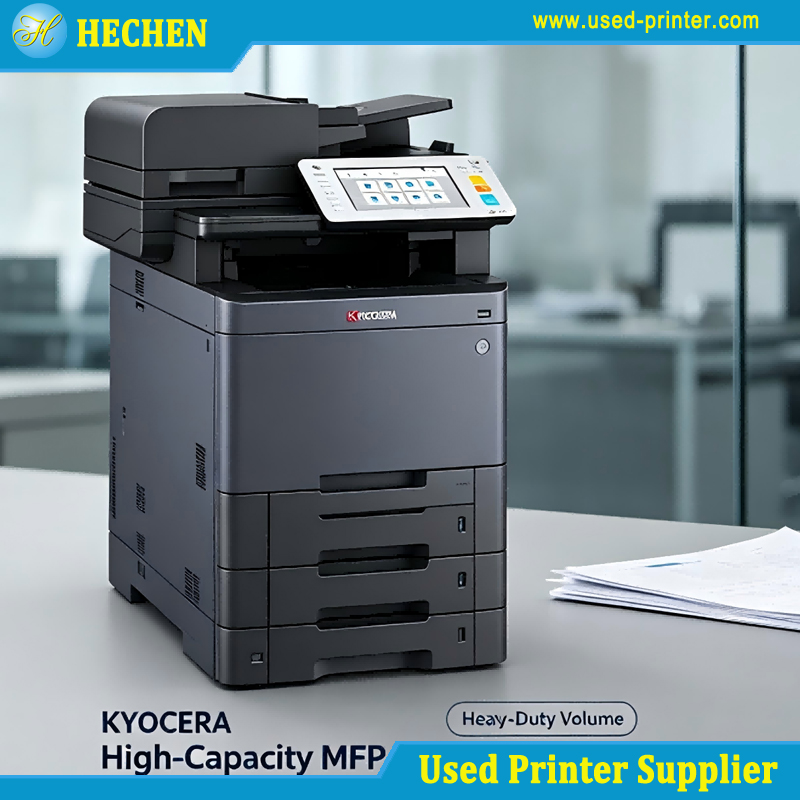
For a second hand color laser printer, black-and-white testing is not sufficient. Buyers must also examine cyan, magenta, yellow, and black (CMYK) output.
Print a color test page containing:
Solid cyan, magenta, yellow, and black blocks
Red, green, and blue color areas
Light and dark gradients
Fine colored lines
Photographs or color graphics
Text in different colors
Check whether each color appears reasonably consistent and whether the colors align correctly.
Color registration refers to the alignment of the four color layers during the printing process. Poor registration can cause colored shadows, blurred edges, or color outlines around text and images.
Look for these problems:
Color imbalance: One color appears too strong or too weak.
Color banding: Visible horizontal or vertical bands appear in gradient areas.
Color misregistration: Cyan, magenta, yellow, or black layers do not align correctly.
Uneven color density: Solid color blocks have patchy or inconsistent coverage.
Color contamination: Unwanted colors appear in areas that should be white or neutral.
Possible causes include low toner, worn drums, transfer belt problems, developer issues, calibration errors, or incorrect color settings.
For professional color printing, registration and color consistency are especially important. A printer that produces acceptable black text but poor color output may not be suitable for graphics, marketing materials, or office documents requiring accurate colors.
9. Test Different Paper Sizes and Media Types
Paper handling can also affect print quality. A printer may produce good results on A4 paper but develop problems when using A3 paper, heavier media, or different trays.
Where supported by the printer, test several paper sizes and media types, including:
A4 standard paper
A3 paper for large-format office documents
Letter-size paper for North American markets
Heavier paper within the manufacturer's specifications
Different paper trays and manual feed options
Inspect each printed page for wrinkles, skewed images, edge damage, toner smearing, and uneven margins.
Check whether the printed image is properly positioned on the page. Excessive image shifting or skewing may indicate paper-feed roller wear, tray alignment problems, or incorrect paper settings.
Do not test media that exceeds the manufacturer's recommended weight or specifications. This can create unnecessary paper jams or damage.
10. Print Multiple Pages to Check Consistency
A second hand laser printer should not be evaluated only by printing one perfect test page. Some machines perform well initially but develop problems during continuous operation.
Print a batch of approximately 20–50 pages, depending on the printer's condition and the buyer's requirements. Use a mixture of text pages, solid-area patterns, and graphics.
Observe whether the print quality remains stable throughout the test.
Check for:
Gradually fading output
Increasing background shading
Repeated streaks or spots
Paper jams
Unusual mechanical noises
Overheating or error messages
Changes in toner density
Inconsistent paper feeding
If the first few pages look good but later pages become faded or stained, the machine may have a component that performs inconsistently under continuous operation.
For high-volume office use, buyers should pay particular attention to the printer's ability to maintain stable output over longer print jobs.
11. Evaluate Print Quality Together with Maintenance History
Print quality should be considered alongside the printer's service history and total page count.
A low page count does not automatically mean that a printer is in excellent condition. A machine that has been stored for a long time may have deteriorated rollers, contaminated internal components, or aging consumables.
Likewise, a printer with a higher page count may still deliver excellent results if it has been properly maintained and fitted with suitable replacement parts.
Ask the supplier for available maintenance information, including:
Total machine page count
Drum unit replacement history
Fuser unit replacement history
Toner cartridge condition
Maintenance kit status
Previous repair records
Known error codes
Current consumable status
For professional buyers, it is also useful to request photographs or videos showing the machine printing an internal configuration page, a black-density test, and a sample document.
If the printer is being purchased for resale or export, these records can help establish a more transparent product condition and reduce disputes after delivery.
12. Use a Print Quality Checklist Before Purchasing
A structured checklist makes it easier to compare different second hand laser printers and identify machines that require additional maintenance.
| Inspection item | What to check | Expected result |
|---|---|---|
| Text sharpness | Small fonts and fine lines | Clear and readable |
| Black density | Solid black rectangles | Uniform and consistent |
| Gray background | White areas | Clean, without unwanted shading |
| Vertical streaks | Full-page test pattern | No obvious repeated lines |
| Horizontal bands | Solid and gradient areas | No significant banding |
| Ghosting | Repeated text and graphics | No visible unwanted images |
| Toner adhesion | Gently rub printed areas | Toner remains properly fixed |
| Color registration | CMYK test page | Colors are properly aligned |
| Paper handling | Different supported trays | Smooth feeding without damage |
| Continuous printing | 20–50-page test | Stable output and operation |
The checklist should be adapted to the printer's model, age, intended application, and manufacturer's maintenance recommendations. Some minor cosmetic or print defects may be repairable, but buyers should understand the replacement cost before completing the purchase.
Conclusion
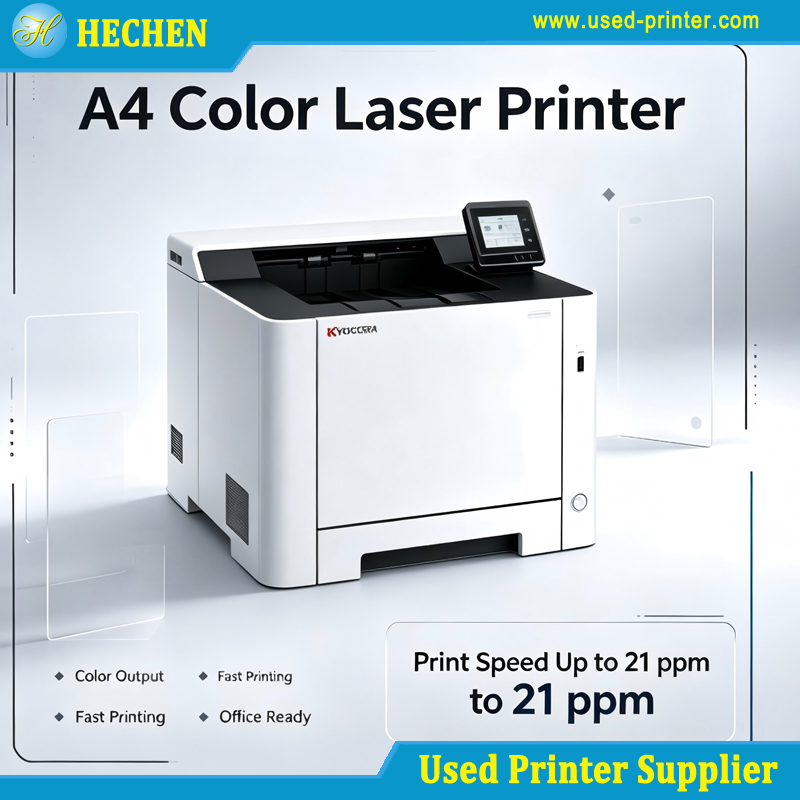
Testing print quality is essential when purchasing a second hand laser printer. A thorough inspection should include text sharpness, black density, gray background, vertical and horizontal streaks, ghosting, toner adhesion, color registration, paper handling, and continuous printing performance.
The most reliable approach is to combine internal configuration reports with several practical test pages. This allows buyers to identify visible defects, evaluate the condition of major consumables, and determine whether the printer can deliver stable output under normal working conditions.
For buyers purchasing used printers in bulk, especially for office use, resale, or international export, a documented print-quality inspection can reduce purchasing risks and improve customer confidence.
A reliable used laser printer should not simply power on and produce one acceptable page. It should deliver clear, consistent, and properly fixed prints across different documents and repeated print jobs. By following these testing procedures, buyers can make better purchasing decisions and select second hand laser printers that offer dependable performance and good long-term value.
Recommended linking:
The Ultimate Guide to Buying a Second Hand Printer
Recommend related products: