Learning how to set up a used printer correctly is essential for getting reliable performance from second-hand printing equipment. A pre-owned printer may still work perfectly, but it can contain old network settings, previous user accounts, outdated drivers, incorrect paper configurations, or accumulated dust and toner.
Unlike installing a brand-new printer, a used printer setup should begin with a complete reset and inspection. This helps remove previous configuration data and gives the printer a clean starting point.
The good news is that most used printers can be installed without the original packaging or setup disc. Modern Windows and macOS systems can often detect compatible printers automatically, while manufacturers provide downloadable drivers and firmware through their support websites.
This guide explains how to prepare, install, connect, and troubleshoot a second-hand printer from start to finish.
Step 1: Perform a Factory Hard Reset
The first step in a professional used printer setup is to remove the previous owner's configuration.
A used office printer may still contain:
Previous Wi-Fi credentials
Static IP addresses
Network settings
Administrator passwords
Email or scan-to-network settings
Address books
User accounts
Custom paper settings
Previous print queues
Security configurations
Leaving these settings unchanged can cause installation problems and, in business environments, may create unnecessary security risks.
Why a Factory Reset Is Important
A factory reset returns the printer's configuration to its default state.
This allows you to configure:
Language
Region
Date and time
Network settings
Wi-Fi
Administrator credentials
Paper settings
Printing preferences
It also prevents the new user from inheriting configuration information from the previous owner.
How to Perform a Factory Reset
The exact procedure depends on the printer manufacturer and model.
Many printers provide a menu similar to:
Settings → Administration → Reset → Restore Factory Defaults
Other models may use a physical button combination or require access through the printer's embedded web server.
Before resetting, confirm whether the printer contains any information you need to preserve.
For example, a business may need to record the current IP address or configuration before performing the reset.
Do Not Confuse a Restart With a Factory Reset
Power cycling the printer is not the same as restoring factory settings.
A restart simply turns the printer off and on.
A factory reset removes stored configuration data.
After the reset, allow the printer to restart completely before continuing with the installation.
Record the Printer Model and Serial Number
Before proceeding, record:
Manufacturer
Exact model number
Serial number
Firmware version
Page count
Current consumable status
This information will be useful when downloading drivers, checking compatibility, ordering replacement parts, or contacting technical support.
Step 2: Physical Cleaning & Preparation
After resetting the software configuration, inspect and clean the physical printer.
A second-hand printer may have been stored for weeks or months before resale. Dust, toner particles, paper fragments, and dried ink can affect performance.
A proper physical inspection is therefore an important part of how to set up a used printer.
Exterior Cleaning
Start by cleaning the external surfaces using a soft, lint-free cloth.
Pay attention to:
Control panel
Paper trays
Output tray
Document feeder
Scanner glass
Ventilation openings
USB and network ports
Avoid spraying liquid directly onto the printer.
Instead, apply an appropriate cleaning solution to the cloth when permitted by the manufacturer's maintenance instructions.
Clean the Paper Path
Remove any loose paper fragments from:
Input trays
Output areas
Manual-feed slots
Accessible paper paths
Small pieces of paper left inside the machine can cause repeated paper jams.
Check Pickup Rollers
Inspect accessible pickup rollers for:
Excessive dust
Glossy or hardened surfaces
Cracks
Uneven wear
Worn rollers may cause symptoms such as:
Paper not feeding
Multiple sheets feeding simultaneously
Paper feeding at an angle
Intermittent jams
Laser Printer Preparation
For a used laser printer, inspect the toner cartridge, drum, fuser area, and transfer components where accessible.
Do not touch sensitive imaging surfaces unnecessarily.
If toner has leaked inside the printer, avoid using compressed air aggressively because toner particles can be distributed throughout the machine.
Inkjet Printer Preparation
For used inkjet printers, check:
Ink tanks
Cartridge bays
Printhead area
Ink tubes where visible
Waste-ink indicators
Nozzle condition
If the printer has been unused for an extended period, perform a nozzle check after installation.
Do not immediately perform repeated deep-cleaning cycles because they can consume a significant amount of ink.
Check Power and Accessories
Before connecting the printer, confirm that you have:
Correct power cable
USB cable if required
Ethernet cable if required
Ink or toner
Paper
Manufacturer-specific accessories
For multifunction printers, also check the automatic document feeder and scanner mechanism.
Step 3: Installing Drivers Without the Original Setup CD
One of the most common questions from people buying second-hand equipment is how to install a second hand printer without driver disc.
The answer is simple: the original CD is usually not required.
Modern computers can often install a basic printer driver automatically, while the manufacturer's official support website normally provides the latest compatible drivers.
Identify the Exact Model
First, locate the exact model number printed on the printer.
Do not download a driver based only on the product family.
For example, different versions within the same series may use different drivers or firmware.
Record the full model designation before searching for software.
Download the Driver From the Manufacturer
The safest approach is to obtain the driver directly from the manufacturer's official support website.
Look for:
Printer driver
Full software package
Universal print driver
Scanner driver
Firmware
Network utility
Avoid downloading printer drivers from unknown third-party websites whenever possible.
Windows Installation
For Windows computers, connect the printer using USB or place it on the same network as the computer.
Then:
Open Settings.
Select Bluetooth & devices.
Open Printers & scanners.
Select Add device.
Allow Windows to search for available printers.
Select the correct printer.
Install the appropriate driver if prompted.
Print a Windows test page.
If Windows cannot identify the printer automatically, install the manufacturer's driver package manually.
macOS Installation
On macOS, open:
System Settings → Printers & Scanners
Select Add Printer, Scanner, or Fax.
If the printer is connected to the same network or USB-connected, macOS may detect it automatically.
If not, install the appropriate manufacturer software or manually add the printer using its network address.
Install a Universal Driver When Appropriate
Some business printers support universal print drivers.
A universal driver can simplify deployment across multiple compatible models.
However, advanced features may not always be available.
Functions such as:
Finishing
Duplex control
Multiple paper trays
Secure printing
Color management
Stapling
may require the model-specific driver.
For professional office environments, model-specific drivers are generally preferable when available.
Check Firmware
Driver installation is only one part of the software setup.
Also check whether the printer has current firmware available.
Firmware updates may improve:
Network compatibility
Security
Stability
Error handling
Feature support
However, firmware updates should be performed carefully. Verify the exact model before installing firmware.
Step 4: Network and Wireless Pairing
Network configuration is one of the most important stages of a modern used printer setup.
There are three common connection methods:
USB
Ethernet
Wi-Fi
USB Setup
USB is usually the simplest connection method.
Connect the printer directly to the computer and allow the operating system to detect it.
USB is particularly useful when troubleshooting because it eliminates network-related problems.
If the printer works correctly over USB but not over Wi-Fi, the printer itself is probably functional and the problem is more likely related to network configuration.
Ethernet Setup
For office environments, Ethernet can provide a stable connection.
Connect the printer to a network switch or router.
The printer may automatically obtain an IP address through DHCP.
Find the assigned IP address through the printer's network settings or configuration report.
You can then use the IP address to access the printer's embedded web interface if supported.
Static vs. Dynamic IP Address
For a small home network, DHCP may be sufficient.
For business environments, administrators may prefer a predictable network address.
A common approach is to create a DHCP reservation based on the printer's MAC address rather than manually assigning a static IP address inside the printer.
This can simplify network management while maintaining a consistent address.
Wi-Fi Setup
To connect a used printer to Wi-Fi:
Perform the factory reset.
Open the wireless settings.
Select the correct Wi-Fi network.
Enter the wireless password.
Wait for the printer to connect.
Print a network configuration report.
Confirm the assigned IP address.
Add the printer to the computer.
If the printer cannot detect your wireless network, check whether the model supports the required Wi-Fi frequency and security configuration.
Older printers may support older wireless standards but have limited compatibility with newer network security settings.
Test Network Printing
Once connected, send several print jobs.
Do not test only one page.
Print a multi-page document and observe whether:
The printer remains connected.
Pages print in the correct order.
Jobs leave the print queue normally.
The printer maintains its network connection.
No unexpected errors appear.
Troubleshooting Common Second-Hand Printer Issues
Even after a successful installation, a used printer may experience problems caused by wear, old software, or incorrect configuration.
The following troubleshooting procedures address common issues.
Problem 1: Computer Cannot Find the Printer
First check the physical connection.
For USB:
Replace the USB cable.
Try another USB port.
Restart the printer.
Restart the computer.
For network printers:
Confirm that the printer and computer are on the same network.
Check the printer's IP address.
Restart the router if appropriate.
Check network status on the printer.
If the printer has an IP address but the computer cannot find it automatically, add the printer manually using its network address.
Problem 2: Printer Appears Offline
An offline printer can be caused by:
Network changes
Incorrect IP address
Driver problems
Print spooler issues
Wi-Fi disconnection
Printer sleep settings
First verify whether the printer itself shows a network connection.
Then check the printer port configured on the computer.
If the printer's IP address has changed, the computer may still be trying to communicate with its previous address.
Problem 3: Jobs Are Stuck in the Print Queue
A corrupted print queue can prevent new jobs from printing.
Cancel the existing jobs and restart the printer.
On Windows, restarting the Print Spooler service can resolve some queue-related problems.
If the problem continues, remove the printer and reinstall the correct driver.
Problem 4: Printer Produces Poor-Quality Output
For laser printers, inspect:
Toner
Drum
Fuser
Transfer components
Paper type
Common symptoms include:
Ghosting: Possible imaging or fuser-related issue.
Repeated marks: May indicate a drum or roller problem.
Light printing: Check toner and print-density settings.
For inkjet printers, perform:
Nozzle check
Printhead cleaning
Printhead alignment
If missing lines remain after reasonable cleaning, the printhead may require professional service.
Problem 5: Paper Jams Frequently
Repeated jams should not be ignored.
Check:
Paper size
Paper type
Paper tray guides
Pickup rollers
Separation pads
Duplex path
Internal paper fragments
Old or humid paper can also cause feeding problems.
Try a fresh package of correctly stored paper before assuming that the printer itself is defective.
Problem 6: Wi-Fi Does Not Work
If USB printing works but wireless printing does not, focus on the network.
Check:
Wi-Fi password
Network name
Frequency compatibility
Security protocol
IP address
Signal strength
For older printers, compatibility with modern wireless networks can be a limiting factor.
In a business environment, Ethernet may be a more reliable solution if the printer's wireless technology is outdated.
Problem 7: Scanner Does Not Work on a Used Multifunction Printer
Printing and scanning often use different drivers.
A multifunction printer may print correctly while its scanner is not detected.
Install the manufacturer's scanning software or scan driver separately.
Then test:
Flatbed scanning
Automatic document feeder
Scan resolution
Destination software
Network scanning if supported
Recommended Final Setup Checklist
After completing the installation, verify all of the following:
| Setup Item | Verification |
|---|---|
| Factory Reset | Previous user settings removed |
| Physical Cleaning | Paper path and exterior cleaned |
| Page Count | Recorded for future maintenance |
| Consumables | Ink/toner and component status checked |
| Driver | Correct model-specific driver installed |
| Firmware | Compatibility and update status checked |
| USB | Direct printing tested |
| Ethernet | Network connection tested if applicable |
| Wi-Fi | Wireless connection tested if applicable |
| Test Page | Print quality confirmed |
| Duplex | Two-sided printing tested |
| Scanner | Tested on multifunction models |
| Print Queue | Jobs complete normally |
| IP Address | Recorded for network management |
| Admin Settings | New administrator credentials configured |
Frequently Asked Questions
Can I set up a used printer without the original CD?
Yes. In most cases, the original installation disc is not necessary. Download the appropriate driver and software package from the printer manufacturer's official support website.
What is the first step when setting up a used printer?
Perform a factory reset whenever appropriate. This removes previous configuration settings and gives the printer a clean starting point.
Should I connect a used printer to Wi-Fi before installing the driver?
Either approach can work. For troubleshooting, USB installation is often the simplest starting point. Once basic printing works, configure the network connection.
How do I find the IP address of a used printer?
The IP address can usually be found through the printer's network settings or by printing a network configuration/status report.
Why does my used printer say "offline"?
The printer may have an incorrect IP address, lost its Wi-Fi connection, have a driver problem, or be connected to a different network. Check the physical/network connection and verify the printer port configured on the computer.
Should I update the firmware on an old printer?
Only after confirming the exact model and firmware compatibility. Firmware updates can improve security and stability, but installing incorrect firmware can cause serious problems.
Is a used printer difficult to install?
Most used printers are not particularly difficult to install if the exact model is known and compatible drivers are available. The main difference from installing a new printer is that a used machine should first be reset, cleaned, inspected, and tested.
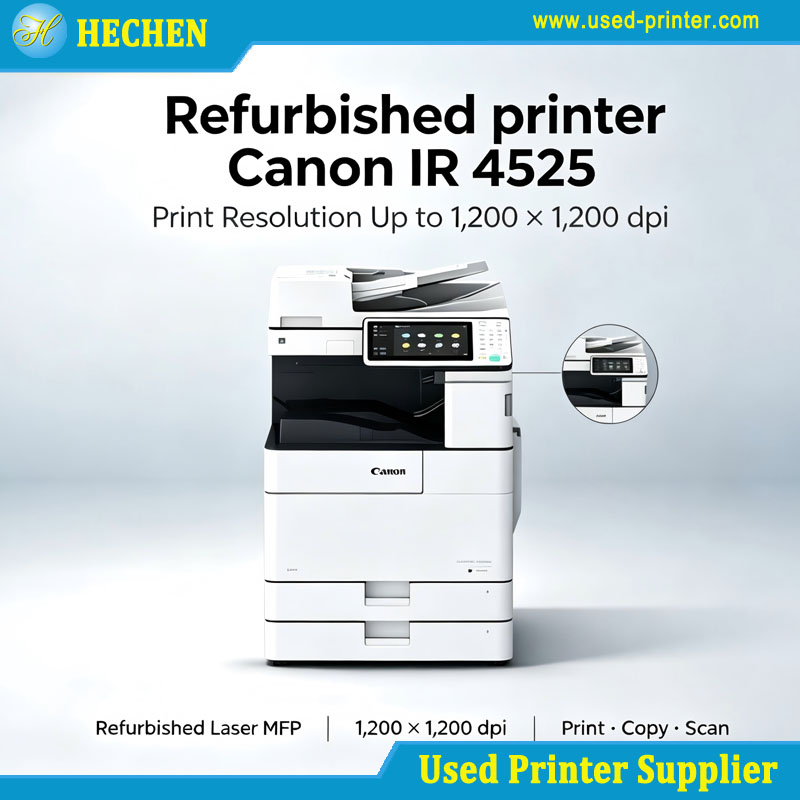
Conclusion
Understanding how to set up a used printer is more than simply connecting a cable and installing a driver. A proper installation should begin with a factory reset, followed by physical cleaning, consumable inspection, driver installation, network configuration, and comprehensive testing.
The original setup CD is rarely essential. If you need to install a second hand printer without driver disc, the preferred approach is to identify the exact model and download the appropriate software and drivers from the manufacturer's official support resources.
For USB-connected printers, start with a direct connection to establish basic functionality. For office environments, Ethernet can provide stable network connectivity, while Wi-Fi offers greater flexibility when the printer supports modern wireless standards.
Finally, remember that second-hand equipment may contain normal wear components. If a printer has paper-feed problems, poor print quality, connectivity issues, or outdated software, determine whether the problem is caused by configuration or physical wear before investing in repairs.
A systematic used printer setup process not only gets the printer working faster—it also helps establish whether the equipment is suitable for long-term use.
Recommended linking:
The Ultimate Guide to Buying a Used Printer: Save Money Without the Risks
Recommend related products: